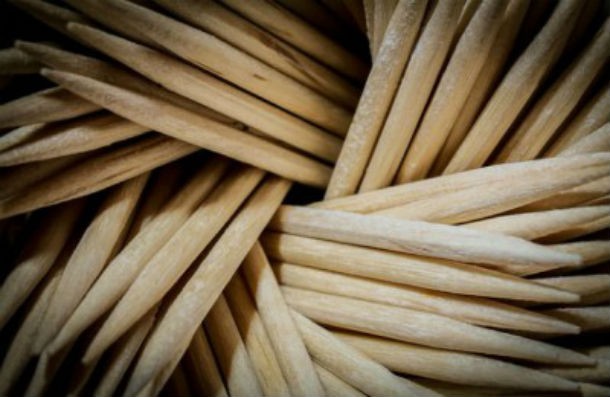
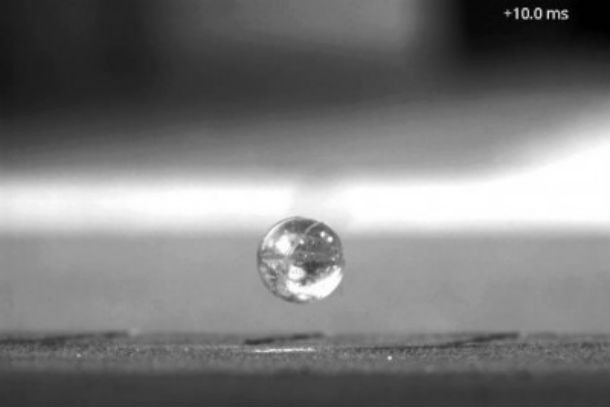
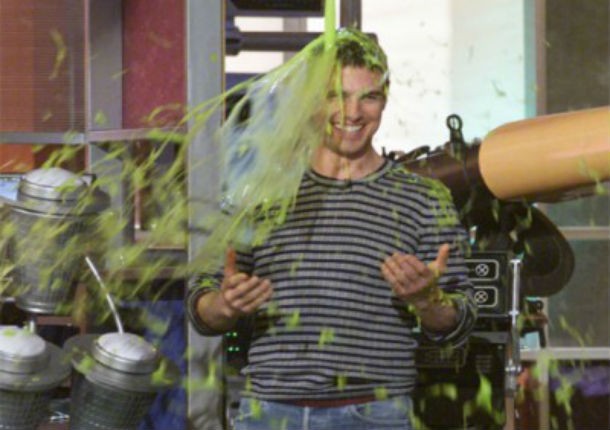
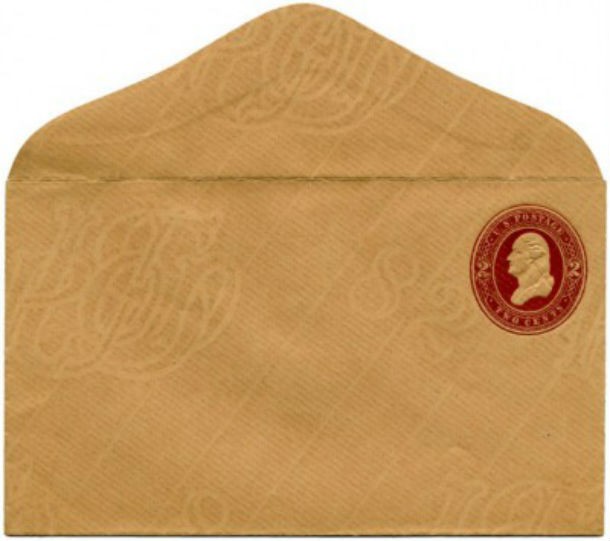
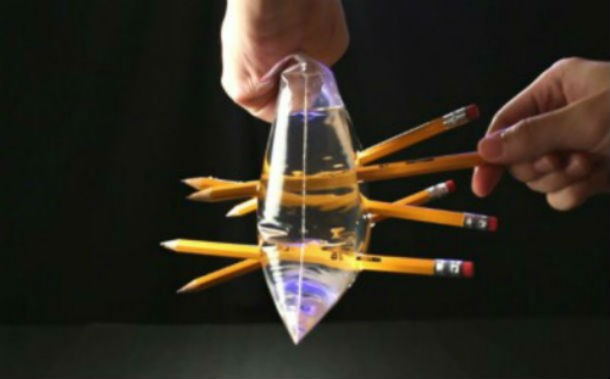
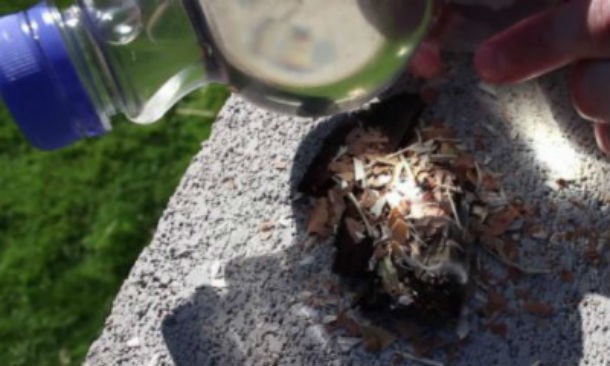
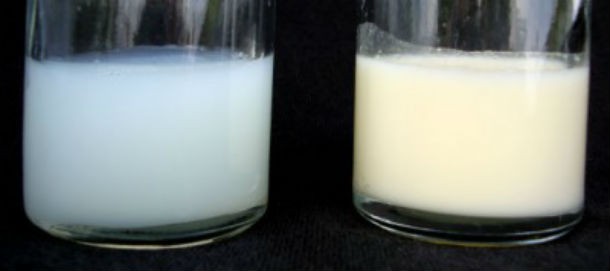
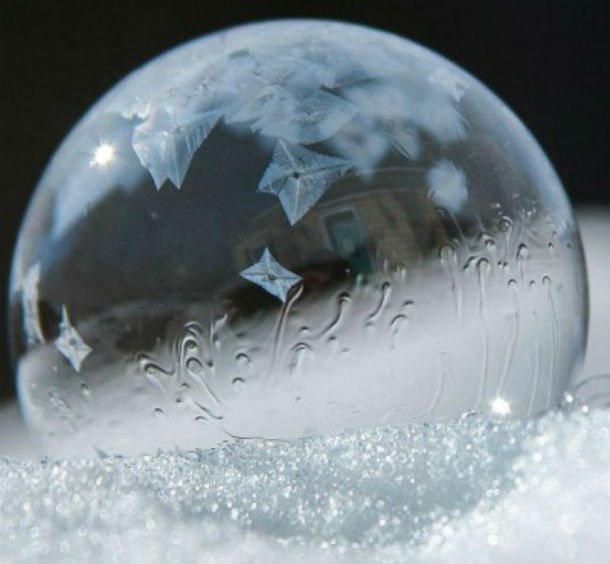
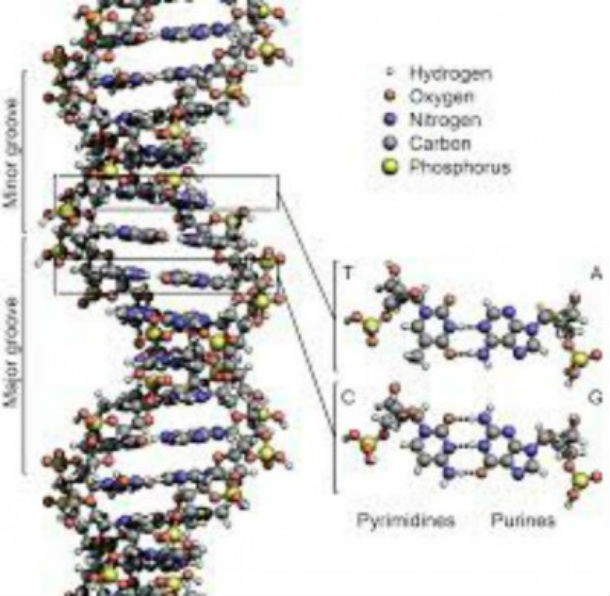
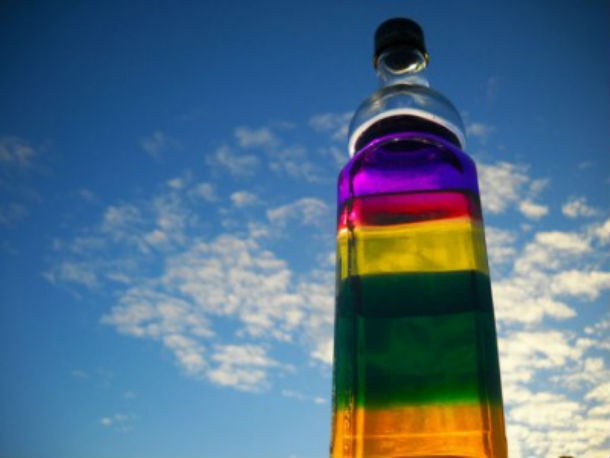
Basic materials can help you perform experiments that are simple, safe, and perfect for kids. For example, did you know that all you need to create your own mini “torpedo” is shampoo and a toothpick? Or that in order to make certain things disappear from the naked eye’s line of sight all you need is some vegetable oil, proper lighting, and glass? If you want to discover other simple but awesome experiments like these, you will have to read our 25 Cool Science Experiments You Can Do From Home. We promise you won’t regret it. Fill one shot glass with wine to the rim. Fill the other shot glass with water to the rim. Next, place the piece of clear plastic over the glass of water. Holding the piece of plastic and glass of water together, carefully flip it and place it on top of the wine glass (the piece of plastic will be in between). Slowly, slide the piece of plastic so that there is a small gap in both the water and wine glasses. Due to the different densities, wine will go up into the water glass as water goes down into the wine glass, effectively replacing each other. Dab a little shampoo on the blunt end of a toothpick. Drop the toothpick in a bowl of water, and the toothpick will start moving in the direction the sharp end. Magic? Nope! You see, shampoo contains agents that reduce the surface tension of liquids. As the shampoo on the end of the toothpick dissolves, it reduces the water’s surface tension around it, thus releasing the water’s hold on that end of the toothpick. The water around the other end has surface tension, so it pulls the toothpick in that direction. – two balloons – water – candle – matches Inflate the first balloon and tie it shut. Place a quarter of a cup of water in the second balloon, then inflate it and tie it shut. Light a candle using the matches and hold it under the first balloon. Allow the flame to touch the balloon. What happens? The balloon pops. Now hold the second balloon (the one with water inside) over the candle. Allow the flame to touch the balloon. What happens? It doesn’t pop. Water soaks up the heat from the candle. As the water closest to the flame heats up, it rises and is replaced by cooler water. The cooler water then soaks up more heat and the process repeats itself. – thick liquid, preferably honey – heavy ball – a sphere shaped container. Place the heavy ball in the lower half of the sphere. Fill the lower half of the container with honey, a little more than half. Tip the bowl from side to side to watch the slow-motion movement of the ball. Note: If you use too little or too much honey, it will affect the motion of the ball. – Elmer’s glue – Borax powder – food coloring – water Are you one of those people who had way too much fun seeing Tom Cruise and Katy Perry (among many other celebrities) being “slimed” at the Kids Choice Awards? Yes? So, what if we told you that you can make your own slime with glue and Borax? All you’ve got to do is to grab a bowl and mix 1/2 cup glue with 1/2 cup water. Add some food coloring of your own choice if you want colored slime. Get another bowl and mix a teaspoon borax with one cup of water until the borax is dissolved. Add the glue mixture to the borax solution, stirring slowly until it’s the right consistency, and then get ready to make a mess of your friends with your own slime! – two glasses of water -salt Ask your friends or family why the ocean doesn’t freeze in the winter. If they don’t know, or even if they get do, try out this experiment. Fill two cups halfway with water. Add some salt to one and stir it. Place both cups in the freezer or outside if the temperature is below freezing. Which one freezes first? You’ll find that the salt in the water makes it harder to freeze. Depending on the amount of salt, saltwater may need to be twenty-five degrees colder than freshwater to freeze. This is one of the reasons salt is used to melt ice on sidewalks and streets. It’s also one of the reasons why the ocean doesn’t freeze when the weather gets cold. -an envelope -a black felt-tip pen -a piece of dark construction paper/a page from a magazine Usually you can’t read the writing inside an envelope because of the light reflected off the envelope’s white surface, but a tube blocks that reflected light so you see only the light coming through the envelope. Write a word with a black felt-tip pen on a white piece of paper. Place the paper in a brown envelope and insert that envelope into a white one. Get a piece of dark construction paper or tear a page from a magazine with print on both sides. Roll the paper into a four-inch tube. When you hold the tube against the envelope, you’ll be able to read the writing inside. -a zip baggy -pencils -water Fill the bag almost to the top. Zip it shut, and start sticking pencils through the bag. Sometimes a few drops will leak out, but overall, this is a simple yet impressive trick that will make your friends idolize you. – a Pom bottle of water – two sheets of paper – a sunny day (a must) Are you looking for unusual ways to start a fire? Well, if that’s the case, all you need is a Pom bottle filled with water and two sheets of paper. Next, fold the two sheets of paper in half, twice. Print or scribble a black mark on one of the sheets. Then just pray it’s a sunny day outside! If the sun is smiling at you, just hold the bottle near the paper, focusing the light of the sun on the black area of the paper. Once it starts to smoke and a hole begins to form, wrap the other sheet of paper around the smoking piece. Wave the papers through the air to feed oxygen to the spark and keep doing this until the paper catches on fire. – dish soap – milk – food coloring – a plate If you want to impress your friends without trying too hard, all you have to do is mix some dish soap and milk together. This mix causes the surface tension of the milk to break down. Throw in different food coloring and create a trippy chemical reaction that will make a plate look like a Picasso painting. – dry ice – hot water – bubble mix This is one of the easiest scientific tricks you can do, well if the weather is helping. When the temperature falls below freezing, it’s possible to freeze bubbles into crystals. No special preparation is required since all you need is some bubble mix and cold weather. However, there’s another, a little more complicated way to make a giant dry ice bubble that resembles a crystal ball, filled with swirling fog. All you need for this project is dry ice, hot water, and bubble solution. Pour hot water into a bowl, add dry ice and smooth a film of bubble solution over the rim of the container. There you go! – a plastic bottle – water – dish-washing soap – glitter To make a tornado in a bottle, partially fill a plastic bottle with water, add a few drops of dish-washing soap, and add a bit of glitter before swirling the water around to make your tornado easier to see. Put the cap on tightly and turn the bottle upside down and hold it by the neck. Yep! What you will be seeing is a mini tornado you just created. – a deep pan – sand – water – a mallet This is a disaster-based experiment that simulates earthquakes. It shows what happens to sandy soils when an earthquake shakes them up. First, fill a deep pan with sand and put it on a table. Then pour in water to just below the surface of the sand. Wiggle one of the short ends of a brick into the wet sand so it stands up as a building would. Then, gently and repeatedly tap the side of the pan with a mallet and notice what happens to the sand and the brick. All you need to do is observe from there. – two identical glasses – water – two tablespoons of salt – a few drops of food coloring – a sheet of sturdy paper Fill two identical glasses with water. Add two tablespoons of salt to one glass and stir well. Add a few drops of food coloring to the other glass. Cover the glass containing the colored water with a sheet of sturdy paper, turn it upside down, and place it on top of the glass containing the salt water. Gently pull the paper out from between the glasses. The colored water and the salt water will remain separate. Like science experiments? You won’t believe what these scientists did! Check out 25 Craziest Scientific Experiments Ever. – your saliva – an empty glass – a pinch of salt – liquid soap – some juice from a grapefruit – a few drops of alcohol The first step to doing this is spitting in a glass and adding a pinch of salt. Then add some liquid soap, juice from a grapefruit, and some drops of alcohol. Once you have everything in the glass, stir the mixture and the white mucous filaments you will see on top will be your DNA. See, the saliva contains cells that have DNA. The detergent is used to break down the membranes that protect the DNA and releases it into the mixture. The salt makes the DNA denature and precipitate, while the grapefruit juice neutralizes the proteins that could damage the DNA. – a tall glass or bottle – dish soap – vegetable oil – dark corn syrup – rubbing alcohol – water – food coloring The key for the success in this experiment is to pour the liquids (inside the bottle) in the right order. So, first make sure to add the dark corn syrup, then continue with the dish soap, next add food coloring to the water and pour it in with the bottle while it’s tilted, and add the vegetable oil (bottle still tilted). Finally, add food coloring to the alcohol and pour it in with the bottle tilted. Your friends will be impressed when all you have really done is to follow simple steps. – a box of matches – a strip of paper – a peeled hard-boiled egg – an empty bottle with an opening slightly smaller than the diameter of the egg With this very simple trick, you can impress even the most knowledgeable science geeks. Use a match to light the end of a strip of paper on fire. Lift the egg off the bottle, drop the paper inside with the flame down, and quickly replace the egg. Watch the egg wiggle a little in the mouth of the bottle and then get sucked inside. – glycerin – a glass – a bottle (that will fit in the glass) This trick might sound a little difficult to achieve, but it’s so simple really. All it takes is for you to fill both the glass and bottle with glycerin and place the bottle in the glass, and it will look like the bottle disappears. You will be feeling like Criss Angel during the process. – a magnet – plastic wrap – ferric oxide (in powder) – a small container – vegetable oil A ferrofluid is a liquid that becomes strongly magnetized in the presence of a magnetic field. In 1963, NASA’s Steve Papell invented ferrofluid as a liquid rocket fuel that could be drawn toward a pump inlet in a weightless environment by applying a magnetic field. It contains nano-scale particles of metal, which can become magnetized, and the good news is that if you mix oil, toner, and a magnet, you can create your own ferrofluid and harness the power of magnetism. How? Wrap your magnet in plastic wrap and push your tapes to the side. Collect the ferric oxide with the magnet and place the powder in a small container off to the side to dry. Once it’s dry, add the vegetable oil and then you will have your own ferrofluid! – a big glass – a smaller glass – three mixing glasses – corn syrup – a few pipettes – food coloring – some clips To begin this experiment, you must pour the corn syrup into the bigger glass and then place the smaller glass inside of the bigger glass. Next, you will have to attach the clips to prevent the smaller glass from moving side to side in the bigger glass. To continue, pour a small amount of corn syrup into the three mixing glasses and then add food coloring and stir. Fill each pipette with a different color, then add the colored corn syrup to your big glass. Turn the smaller glass carefully and watch the colors mix. Turn it back and watch them unmix while the magic “show” happens right in front of your eyes. – a pan – water – a stove The Leidenfrost effect might sound complicated (judging from its weird name), but in reality, this trick is as simple as it gets. Some of you might even wonder what this effect is all about; well, the Leidenfrost effect is a physical phenomenon in which a liquid, in near contact with a mass significantly hotter than the liquid’s boiling point, produces an insulating vapor layer keeping that liquid from boiling rapidly. Due to this “repulsive force,” a droplet hovers over the surface rather than making physical contact with it. So, how do you achieve this to impress your friends? All you have to do is to turn the heat on high for about four or five minutes and then just add the water. – two of the same glasses – hot water and cold water – food coloring – a piece of plastic To begin with, and to make this trick work, pour some hot water in one glass, cold in the other glass, add food coloring, then place the plastic on top of the hot water glass. Turn the glass upside down, place it on top of the cold water glass, then carefully remove the plastic. Hot water is less dense than cold water, so it “floats” on top of the cold water and it looks like “magic” happens. – an egg – a bowl with alcohol Cooking an egg involves denaturing the proteins present in the yolk. This protein denaturation is normally achieved by exposure to heat (boiling or frying), but another way includes adding compounds such as alcohol that denature the proteins by interacting with them and altering their 3D structure. So, next time you want to cook an egg, place it in a bowl and add some alcohol. After a few minutes, you will see it slowly “cook.” However, we cannot guarantee it will be tasty. – flowers – a glass with water – colored ink Normally, we water plants to keep them alive. Plants have a tube system, called xylem, that distributes water and nutrients to all parts of the plant. Using colored water we are able to see this tube system. Place the flower in a glass with water and colored ink. After a while, you will see the petals have colored ribs, or veins, of the same color of the ink you added. So if your flowers are dying, why not give them some color? – an empty aluminum can – a balloon – a tissue Place an empty aluminum can on its side on the floor. Blow up a balloon and tie a knot in the end. Rub a tissue back and forth on the balloon. When you put the balloon near the can, the can will start rolling toward the balloon. See, when you rub the balloon with a tissue, the balloon gets a negative electrical charge of several thousand volts. When you put the balloon near the can, electrostatic induction affects the molecules in the metal. The outside of the can gets a positive charge, so it is drawn toward the balloon and starts rolling in its direction.
